
After finishing my NGINX reverse proxy ‘starter’ configuration, it was time to actually host something. Well, something other than my dozens of web-management consoles. I’d always wanted a blog, so I started to think of the best way to test my homelab setup. Enter, WordPress.
Choosing a WordPress Installer
Why wordpress? I usually try to roll-my-own with the help of bootstrap for website work. In this case, I chose WordPress because its so well established. I wanted low-barrier, high-reward, high-stability. Considering I had some prior WordPress experience, the learning curve seemed low enough for me! I also wanted to see if my experiences developing the Community Meals project would help me better understand/customize WordPress.
I knew that I wanted to run my blog from its own VM in ESXi. Having a VM would mimic a more realistic deployment (aws, azure) plus allow for snapshots of the blog over time. I also wanted to mostly set-and-forget the server settings that aren’t manageable from within WordPress. That’s when I remembered bitnami:
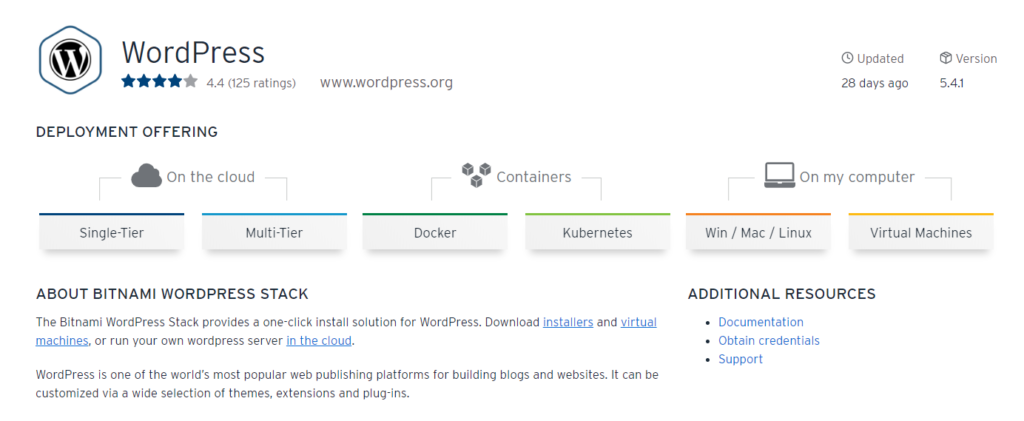
I’ve used a Bitnami LAMP stack before from within Amazon Lightsail, and their products really appealed to me. Bitnami seemed to do a great job setting up the basics in logical ways, and even have pretty great documentation. I really, really hate installing and configuring web stack components manually. What should be simple turns into a crazy battle between dependencies and config files. I was more than happy to pass that process off (even if it means a bit less flexibility).
Spawning a Bitnami WordPress VM
Since I have an ESXi host at home, I decided to use the pre-built WordPress Linux Virtual Machine. Although I’d rather have used an installation based on NGINX, I hadn’t had a lot of Apache exposure before. This project seemed like as good a chance as any to dive in.
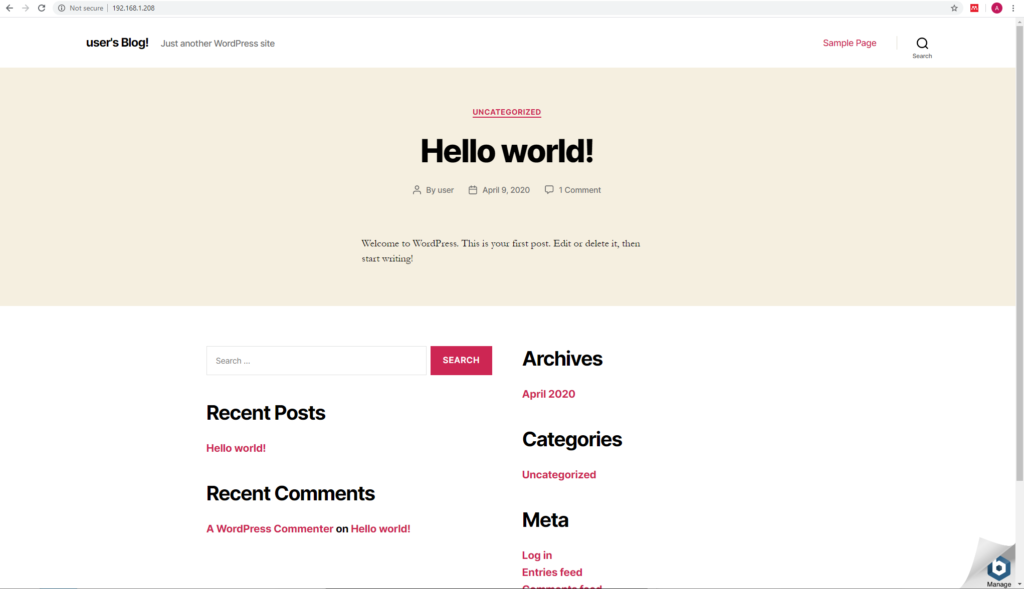
I started by downloading the wordpress OVA from Bitnami. Then, I imported the OVA into EXSi and had a working WordPress site on my LAN. Full stack ready to go in 10 minutes – I love it:
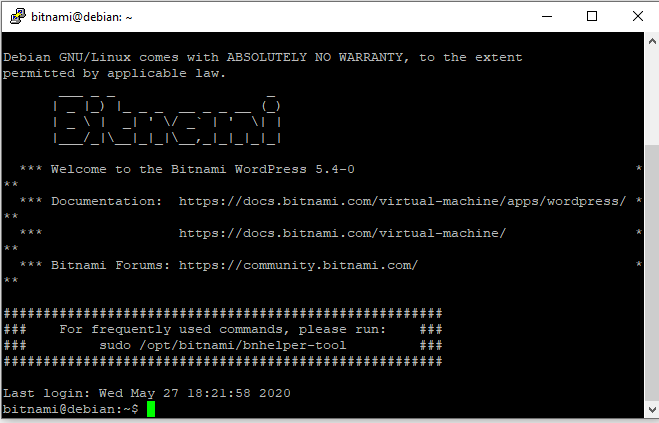
After opening up the console and changing the default password, I immediately enabled SSH. I wanted to be able to SFTP into the server and modify things as needed. The SSH setup process is relatively simple: just remove the Bitnami-supplied inhibitor file and start the SSH service:
sudo rm -f /etc/ssh/sshd_not_to_be_run
sudo systemctl enable ssh
sudo systemctl start ssh
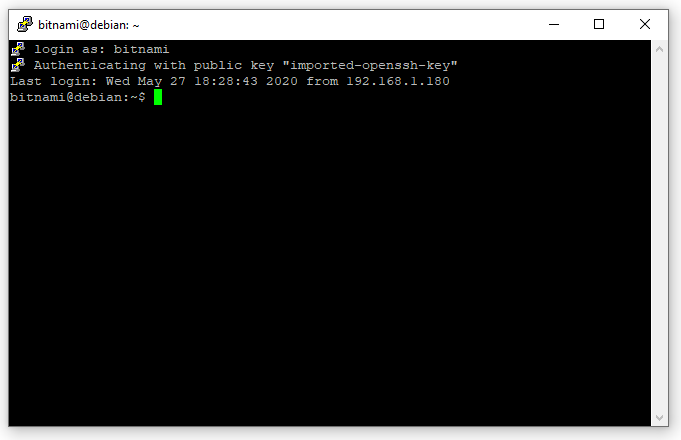
ip addressI threw the last line into the block above to print out the new server’s IP address. This made it easy to immediately check that the SSH service was running using PuTTY:
Before moving on, I used Filezilla to make sure SFTP had also joined the party.
Enabling Key-Based Authentication
The last “basic” thing needed was setting up key-based authentication. I stink at remembering or using strong passwords, so keys are crucial to keep my servers secure. Generating an RSA keypair was easy thanks to ssh-keygen: hit return to accept the default values when prompted. I also made sure to actually add the generated keys to my authorized key list. I’ve forgotten before:
ssh-keygen
cd /home/bitnami/.ssh
cat id_rsa.pub >> /home/bitnami/.ssh/authorized_keys
The next step was to use SFTP to copy the new keys over to my Windows machine. After pulling the keys using Filezilla, it was time to edit the bitnami instance’s SSHD configuration (/etc/ssh/sshd_config). I wanted to turn on RSA and Public Key logins, but turn off normal password login.
RSAAuthentication yes
PubkeyAuthentication yes

ChallengeResponseAuthentication no
PasswordAuthentication no
UsePAM no
Once I’d save my changes, I restarted the SSH server:
sudo /etc/init.d/ssh force-reloadConnecting from PuTTY
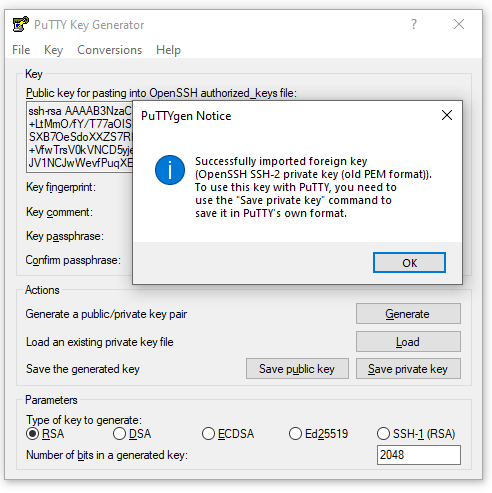
In theory, I’d now be able to connect to my bitnami instance using the private key I’d made. But first, I needed to use PuTTYgen to save my private key as a .ppk file PuTTY could understand:
Once my PPK file had saved, I configured my PuTTY instance with the bitnami server details. Private keys get added under Connection -> SSH -> Auth:
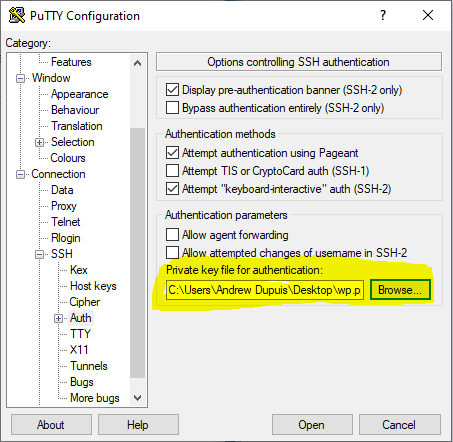
With everything set up, I clicked Open and was prompted for my username. After entering it (bitnami, in this case), the public key authentication completed successfully. My server was officially capable of decently-secure development!
Although my server was practically ready to go, I wanted to make one more quick change to the VM. Throughout the configuration process, the default Bitnami instance had felt really, really sluggish. I checked the VM allocation settings and found bitnami provisioned the VM with 1 CPU core and 700Mb of RAM. This clearly wasn’t enough: I decided to bump the VM up to 4 cores and 4Gb of memory. Call it the perks of a homelab.
Note: If site traffic gets crazy for some reason, I’m always able to bump up the allocation further. For now at least, the new resources definitely made the system feel way less anemic!
NGINX -> WordPress Reverse Proxy
With the server configuration finished, it was time to switch gears to setting up my NGINX reverse proxy configuration.
First, I configured my new WordPress server to have a static IP on my LAN. Then, I once again used the same basic server block that I wrote for my iLo configuration, with one change: instead of using https with my proxy_pass instruction, I chose to only use http. I figured since the NGINX and WordPress VMs are both on the same ESXi host within my LAN, it wasn’t worth re-encrypting and setting up another SSL certificate if I didn’t have to. KISS as much as possible – and yes, I know its not perfect but its fine for my purposes:
server{
   listen 443;
   server_name wordpress.dupuis.xyz;
   ssl on;
   ssl_certificate /etc/letsencrypt/live/dupuis.xyz/fullchain.pem;
   ssl_certificate_key /etc/letsencrpyt/live/dupuis.xyz/privkey.pem;
   location / {
      proxy_set_header X-Forwarded-For $proxy_add_x_forwarded_for;
      proxy_set_header Host $http_host;
      proxy_set_header X-Forwarded-Proto https;
      proxy_redirect off;
      proxy_http_version 1.1;
      proxy_pass http://192.168.1.208;
   }
}
I tested and reloaded NGINX, and tried to access my new wordpress site only to be greated with a website from 2002:
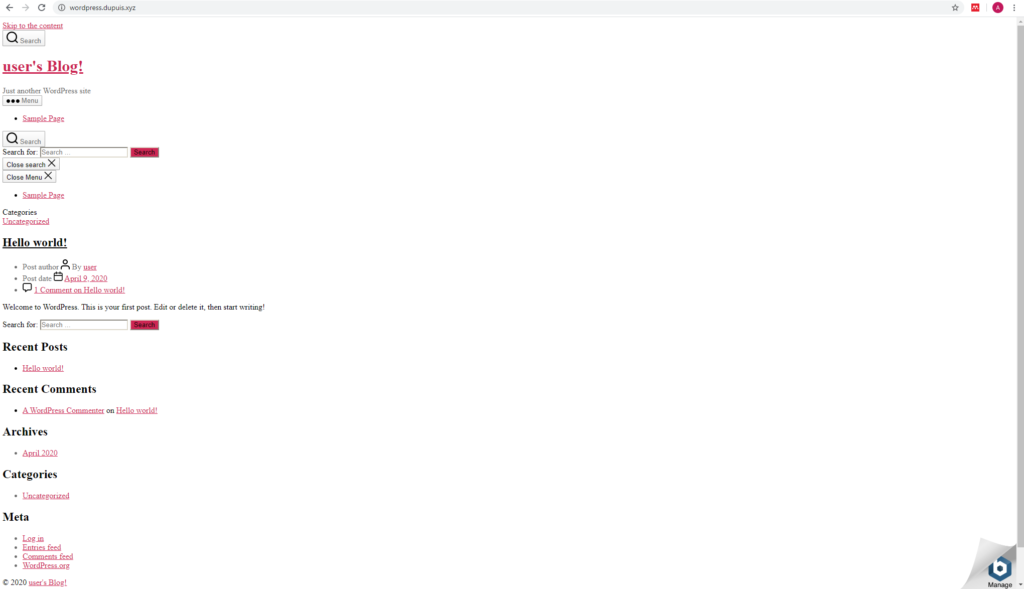
Since I haven’t made a single change to my WordPress site – and the CSS still works on LAN via the server IP – I knew something was up with my HTTPS reverse proxy configuration. Checking the Chrome Dev Console confirmed my theory:
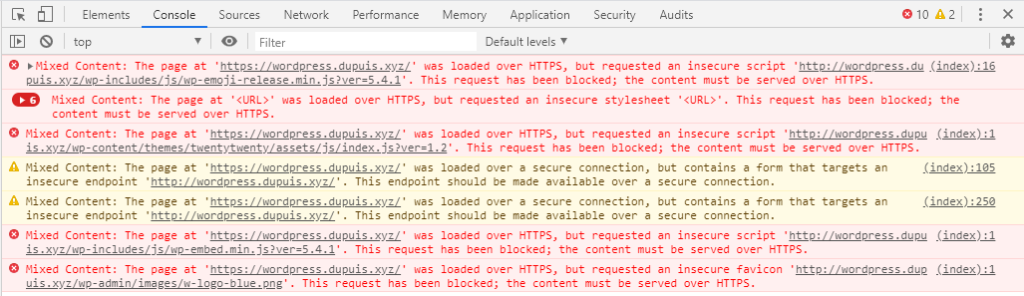
I quickly realized that all the internal links to content on the site were being PHP’d to use HTTP instead of HTTPS – likely because the actual WordPress server has no idea that the site is being served over HTTPS after the reverse proxy. Checking StackExchange, there’s a pretty simple fix because we’re already sending over a PHP server variable in the reverse proxy that can help WordPress figure out the right protocol to use – ‘HTTP_X_FORWARDED_PROTO’ will contain either HTTP or HTTPS based on the reverse proxy’s behavior. Therefore, I loaded up the SFTP connection to the WordPress server and added an “if” to my wp-config.php file, right before the wp-settings.php require statement:
if ($_SERVER['HTTP_X_FORWARDED_PROTO'] == 'https') $_SERVER['HTTPS']='on';
After saving the file back to the server, I loaded up my site via domain name again and voila:
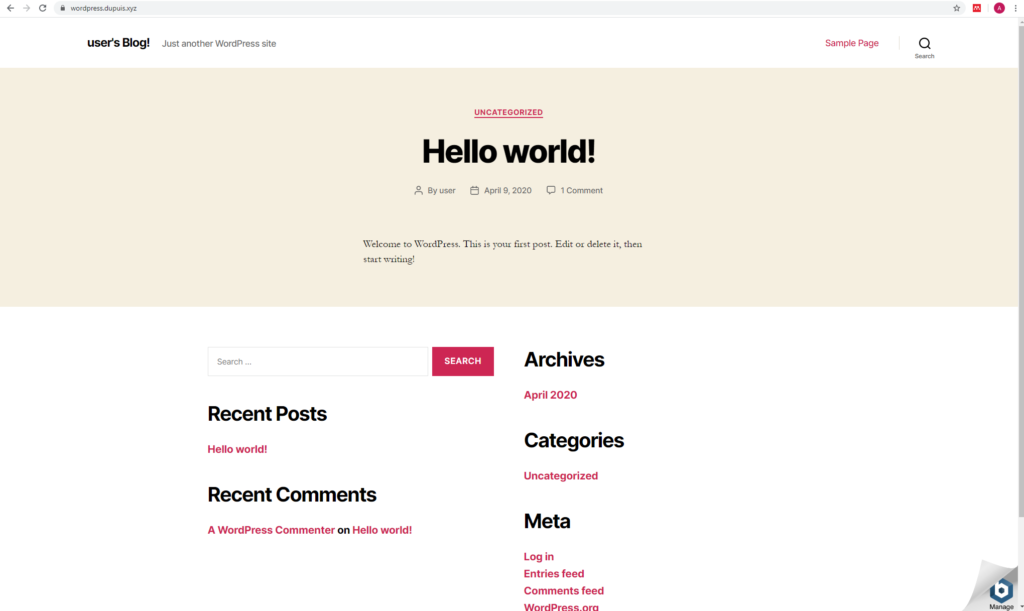
Now that everything was up and running, I finished up by removing the Bitnami banner in the bottom right of the page:
sudo /opt/bitnami/apps/wordpress/bnconfig --disable_banner 1
sudo /opt/bitnami/ctlscript.sh restart apache
And finally, my Bitnami WordPress VM was fully configured, with HTTPS support! If you have a question, or if there’s something I did wrong/could do better, leave a comment and I’ll get back to you as soon as I have a second. Thanks for reading!


https://waterfallmagazine.com
Howdy! Do you use Twitter? I’d like to follow you if that would be okay.
I’m absolutely enjoying your blog and look forward to new updates.
Thank you!
I have a slightly different setup, using HAProxy with pfsense, but I was having the exact same issue. That one line fixed everything, and I understand why it fixed it!