This post is similar to tons of others on the subject, so excuse any duplication. I’m writing it up for three reasons:
- None of the existing tutorials for rooting and wpa_supplicant explained why you do each step or has code comments. I don’t run copypasta as root, and neither should you.
- I didn’t find a tutorial to date for both my Arris gateway and the USG
- I wanted good documentation for when I inevitably break my setup
We recently moved our home internet service to AT&T Fiber because Spectrum’s service outages were getting insane, and their pricing for 400Mbps down / 20Mbps up was the same as AT&T’s gigabit up/down service offering. We’d always had issues with Spectrum – probably in no small part thanks to the horrific coax wiring job in our house – so moving to a fiber connection that wouldn’t drop out when it was windy/rainy/sunny/always was really appealing.
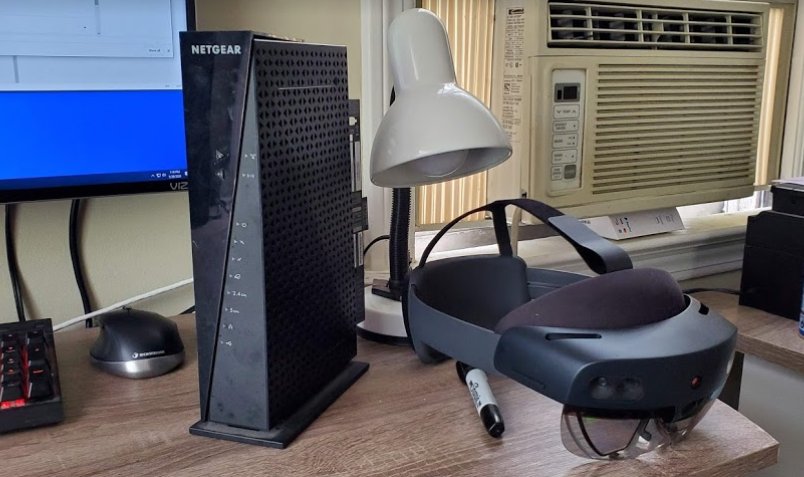
With switching providers, I knew I’d need to replace the honestly great modem I’d been using with Spectrum for the last two years: I’ve never liked using the modem provided by an ISP: they’re slow, full of bloatware, and tend to be finicky thanks to all the management backdoors added to “improve” the average user’s customer service experience. I’d chosen the Netgear AC1750 Modem/Router/Wifi AIO box, since it’s modem was basically the fastest I could buy that would handshake with Spectrum at the time.
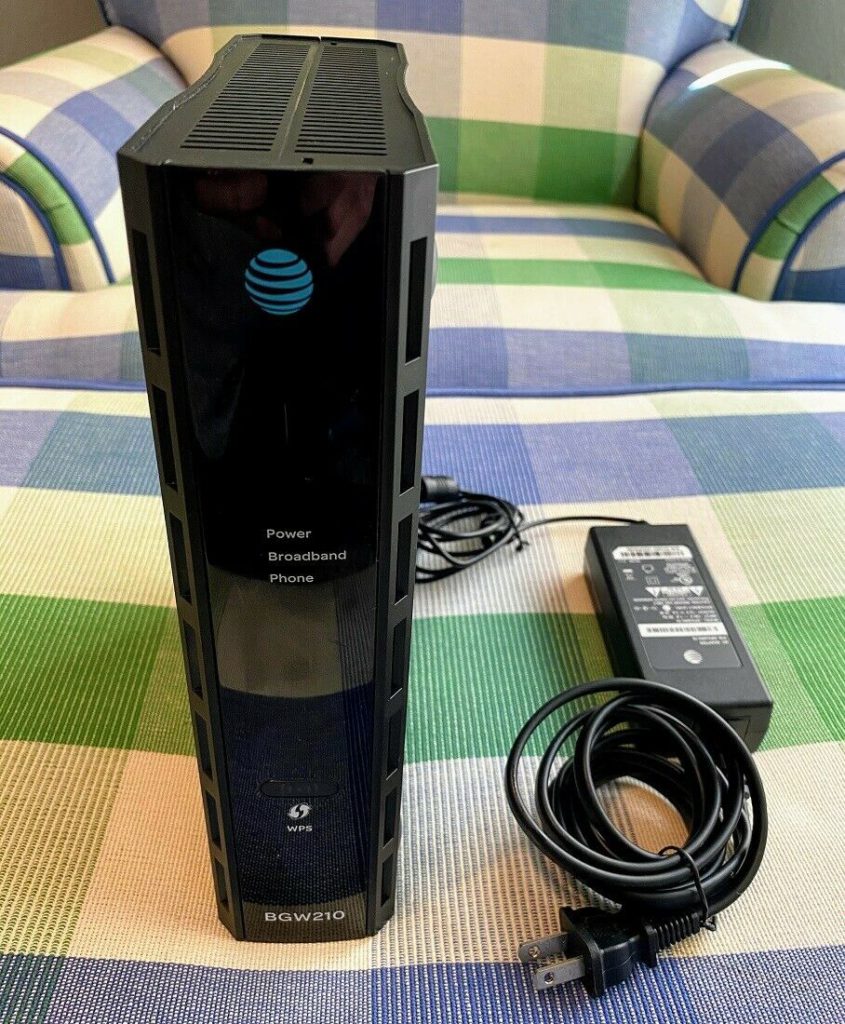
I figured that for fiber service, AT&T would install an ONT (optical network terminal) to go from their fiber connection to an ethernet port that I could connect to my router’s WAN terminal and call it a day. Once the AT&T installer showed up though, I was devastated: as part of the Fiber service, AT&T requires you to use something they call a “residential gateway” – in my case, an Arris BGW210-700:
Some quick googling showed that the residential gateway isn’t really doing anything except providing a wpa certificate over 802.1x and DHCPing to recieve an IP on AT&T’s network. Why this isn’t happening inside the ONT is beyond me, and the entire setup feels like an excuse to require me to pay the monthly hardware fee, even though we don’t have phone or TV service via AT&T that would require the gateway. I decided to suck it up and use their hardware, figuring it couldn’t be THAT bad.
I was so, so wrong.
For the first two days, everything worked great. Then, we started getting massive drops in internet speed and wifi disconnections by the dozen. Our IoT devices were constantly dropping offline, and struggling to DHCP. The NAT table filled up quickly and wouldn’t self-clear; IP leases were frozen in limbo; and best of all, when I finally decided to just skip their box and use “IP Passthrough” mode to my own router, the internet speeds dropped to 40Mbps max. Customer service told me there are “bugs” in their firmware that limit passthrough speeds – which also sounded like BS. After another week of the spottiest wifi in the world, I needed a way around the residential gateway, ASAP. Enter a different gateway: specifically, the Unifi Security Gateway.
Possible Methods

I’ve been wanting to move to Ubiquiti for my home network for a while, and after reading the guides by Wells and Antitrust, I decided it was time to make the switch. Credit to them and all the other folks who’ve figured this out and made tools to simplify the process! I chose the cheapest router in the Unifi lineup – the Unifi Security Gateway (USG), which is essentially an Edgerouter with UX lipstick on top. There are two basic ways to bypass AT&T’s budget-padding-box:
Option 1: EAP Proxying
Since the USG has two WAN ports, this approach connects the ONT directly to WAN1 and the Arris Gateway to WAN2, then uses a VLAN tunnel to forward the 802.1x authentication packets from the Residential Gateway to the ONT whenever they’re needed. This is the dominant approach for most folks online, and is really well documented by Taylor Smith and others. Personally, I don’t want the AT&T residential gateway anywhere near my network, and the thought of having it constantly plugged in/able to mess stuff up if it gets updated bugged me. This approach is the closest to the “bridge” mode idea that AT&T left out/screwed up in the Arris firmware, but it felt like a hacky half-measure to me.
Option 2: WPA_Supplicant
In my ‘dream setup’, I’d take the certificates from the Arris BGW210-700, put them on the USG, connect the ONT directly to WAN1, and call it a day becuase thats is how AT&T should have made Fiber work in the first place. WPA_Supplicant is an open-source 802.1x supplicant software that makes this possible on the USG hardware. This approach just seemed much more stable to me, and had less “to go wrong” in the future, so this is the path I took. YMMV. There are four major steps: Rooting the Residential Gateway, Certificate Generation, WPA_Supplicant installation, and Certificate Configuration.
Rooting the Arris Gateway for Certificate Extraction
The first step for a successful wpa_supplicant installation was gaining root access to my Arris BGW210-700 Residential Gateway. This process is actually not too hard thanks to awesome prior work in the AT&T community. I explain the necessary steps (and why you need each part) in my post about the rooting process. Once you have your certificates saved off of the gateway, you can continue with the tutorial below.
Certificate Generation
With my public and private certificates in hand, I was able to use devicelocksmith’s credential decoder to generate certificates usable by wpa_supplicant. I’ve duplicated the most recent versions of his software on my server as well for redundancy:
Using the certificate extractor is also easy. Extract the compressed files and place the mfg.dat file we acquired from the Arris into the extracted Win32 folder. Add the public certificate .der files to the same Win32 directory. The final folder should look like this:
WIP…sorry – this writeup isn’t quite done, I’ll get back to it eventually….


